
Homemade Vanilla Bean Syrup is the perfect flavoring for cocktails or lattes! The vanilla beans create a much richer, sweeter flavor than vanilla extract, and this recipe is so easy!

My absolute favorite local coffee shop makes the BEST vanilla lattes and cappuccinos, and I finally figured out it's because they use vanilla bean syrup! The use of vanilla bean makes everything - coffees, cocktails, etc. - so much more flavorful and rich.
This recipe uses the vanilla directly from the vanilla pods, which you can buy at most grocery stores! Just scrape it out and add it to the traditional simple syrup recipe, it's SO good!
Be sure to try this with my Pornstar Martini with Gin or even my Oat Milk Hot Chocolate!
Table of Contents:
📖 Recipe Origins
According to spiceography.com, simple syrup dates back just as far as the first cocktail, which many believe to be an old fashioned.
The need for simple syrup arose due to the problem of sugar not dissolving in cold liquids, but bartenders still needed a method of sweetening alcoholic drinks. So, they came up with melting the sugar in a 1:1 ration of sugar and water.
🎥 Watch the video of this recipe
🍯 Why you'll love Vanilla Bean Syrup
- Super Simple Ingredients. Just sugar, water, and vanilla!
- Easily elevate any recipe! The added flavor and sweetness just adds such a unique flavor to any recipe that you add this too!
- Perfect for cocktails or coffees. Use vanilla bean syrup in any type of alcoholic OR non-alcoholic cocktail. Or throw it into a latte or cappuccino!
🥘 What you need for this recipe
Ingredients and Substitutions

- Vanilla Bean - Whole vanilla beans are best, usually you can find these in the spice section of a grocery store. If you're really in a pinch, you could probably substitute vanilla bean paste, though it may impact the end result a bit.
- White Sugar - I do not recommend substituting this for another sugar. Sugar-free sweeteners are not a good choice here. Stick with regular white cane sugar.
- Water
Tools and Equipment
- Medium pan
- Whisk
- Paring knife
📋 How to make Vanilla Bean Syrup
Step 1: Prepare the vanilla beans
Begin by measuring the sugar and water.
Using a sharp paring knife, carefully cut a slit down the middle of the vanilla bean, longways.


Use your fingers to open the slit up (this may get a bit messy).
Then, use the back of the paring knife to scrape down the inside of the vanilla pod, removing all of the little black granules, or as many as you can.
Do this for both vanilla beans.
Step 2: Make the simple syrup
In a cold pan, add sugar and water. Whisk to combine.
Slowly bring the pan up to medium heat, whisking throughout.
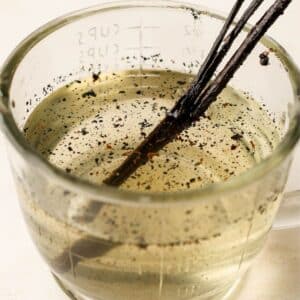
Add the vanilla beans. If there was excess material in the bean pods, you can let those sit in the syrup too.

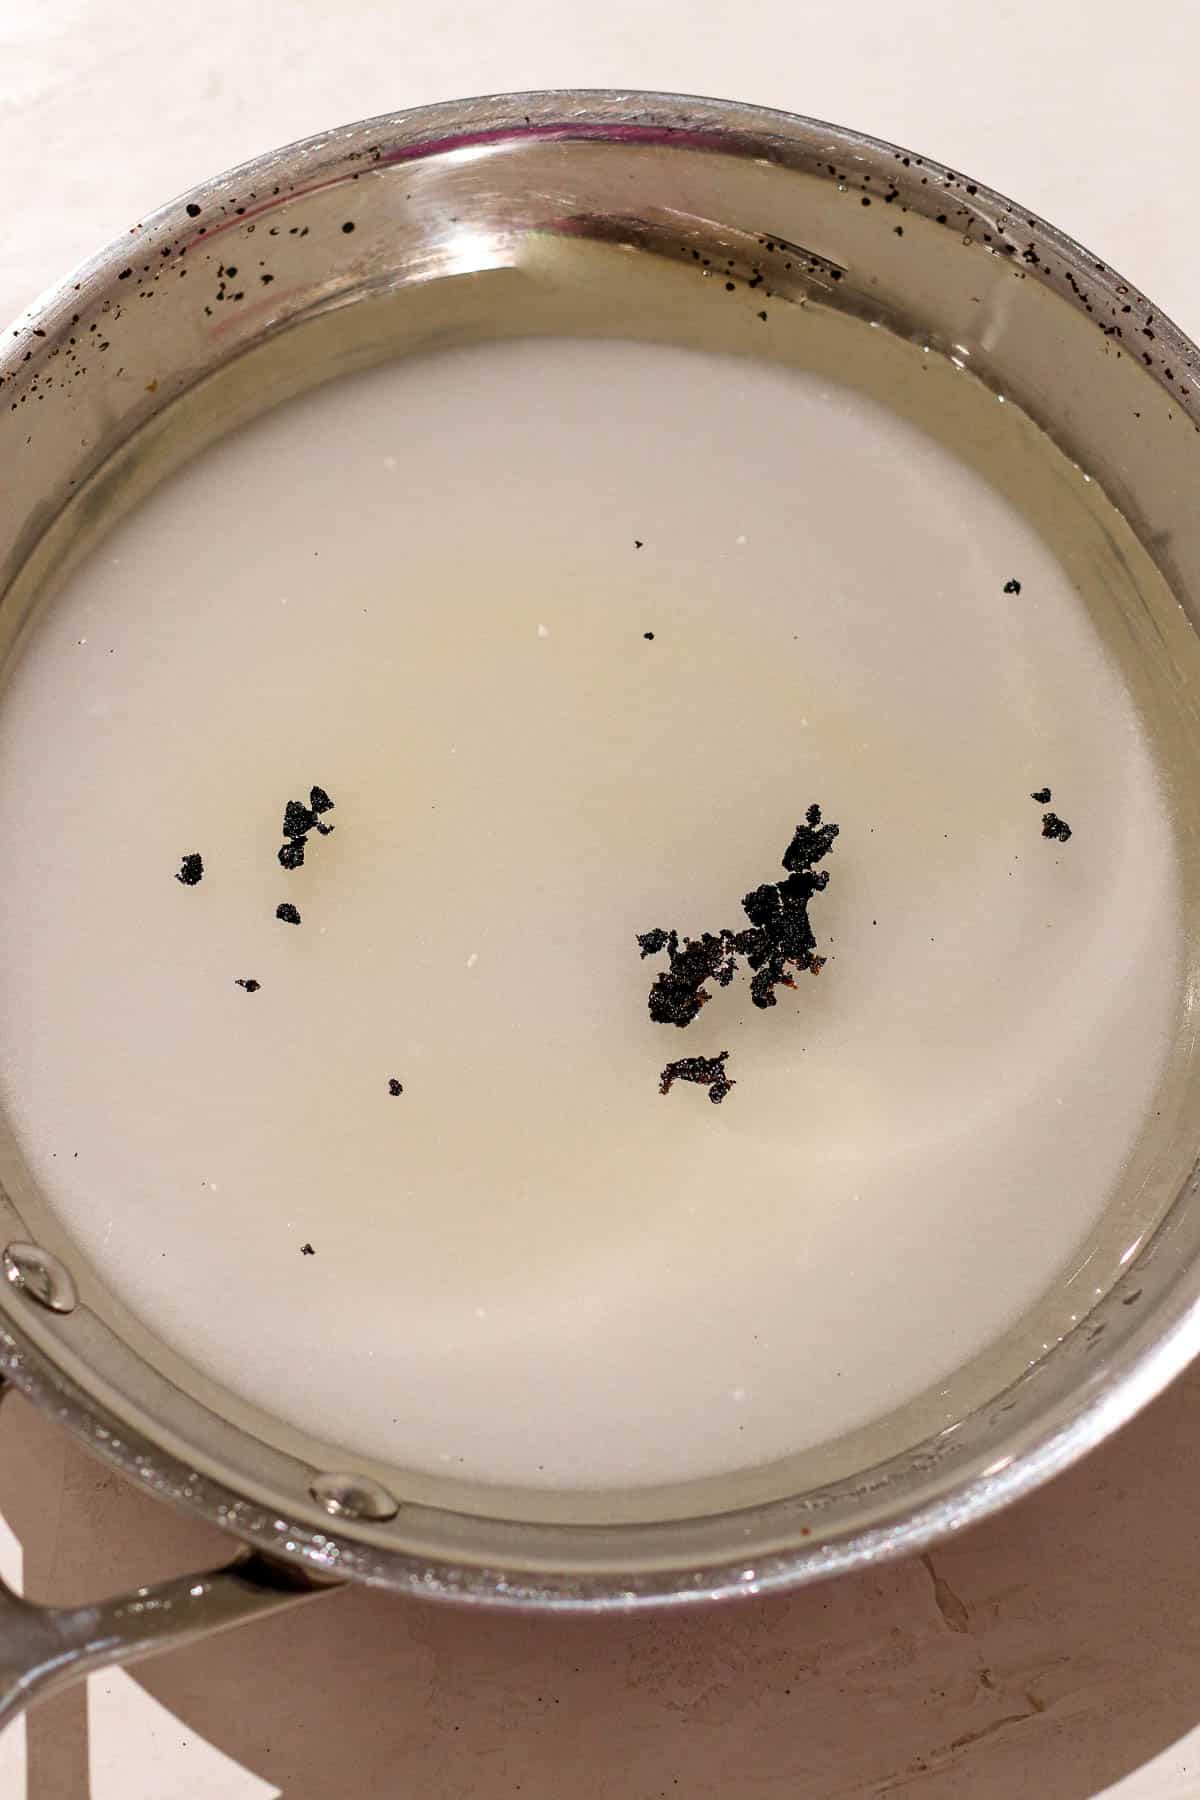

Bring the pan to a very gentle simmer, just until all of the sugar is fully dissolved.
Once dissolved and there are very small bubbles around the edge, turn off the heat.
Step 3: Finishing Touches
Allow the syrup to cool to room temperature.
If necessary, remove the bean pods.
Give it a final whisk to mix the pods with the syrup again.
Once cool, store for later or use in a drink right now!

💭 Expert Tips & Tricks
- Whole vanilla beans are best, usually you can find these in the spice section of a grocery store. If you're really in a pinch, you could probably substitute vanilla bean paste, though it may impact the end result a bit.
- Be sure not to let the syrup simmer too much, while simultaneously making sure that the sugar does, in fact, dissolve completely. You should not be able to see any sugar when it is done.
- The syrup will be very thin and watery when warm, but should thicken and get sticky as it cools down.
Recipe FAQs
Vanilla extract is usually made using alcohol with vanilla steeped in it, so the taste is much more astringent and less sweet. Vanilla syrup uses sugar and water and vanilla flavoring.
Regular vanilla syrup usually uses extract for flavoring, which results in a rather basic or bland vanilla flavor. Using vanilla beans creates a much richer and deeper flavor, which enhances dishes and drinks.
Once the syrup has cooled to at least room temperature, store it in an airtight container with a lid. Store this in the fridge and it should last for quite a while, at least 8-10 weeks.
Related Recipes

Love a recipe you've tried? Please leave a 5-star🌟 rating in the recipe card below and/or a review in the comments section further down the page. Don't forget to tag me on Instagram, Pinterest, and Facebook when you try one of my recipes!
📖 Recipe
Vanilla Bean Syrup
Equipment
- 1 Medium pan
- 1 Whisk
- 1 Paring knife
Ingredients
- 2 Vanilla bean
- 1 cup White Sugar
- 1 cup Water
Instructions
- Begin by measuring the sugar and water.
- Using a sharp paring knife, carefully cut a slit down the middle of the vanilla bean, longways.
- Use your fingers to open the slit up (this may get a bit messy).
- Then, use the back of the paring knife to scrape down the inside of the vanilla pod, removing all of the little black granules, or as many as you can.
- Do this for both vanilla beans.
- In a cold pan, add sugar and water. Whisk to combine.
- Slowly bring the pan up to medium heat, whisking throughout.
- Add the vanilla beans. If there was excess material in the bean pods, you can let those sit in the syrup too.
- Bring the pan to a very gentle simmer, just until all of the sugar is fully dissolved.
- Once dissolved and there are very small bubbles around the edge, turn off the heat.
- Allow the syrup to cool to room temperature.
- If necessary, remove the bean pods.
- Give it a final whisk to mix the pods with the syrup again.
- Once cool, store for later or use in a drink right now!
Notes
- Whole vanilla beans are best, usually you can find these in the spice section of a grocery store. If you're really in a pinch, you could probably substitute vanilla bean paste, though it may impact the end result a bit.
- Be sure not to let the syrup simmer too much, while simultaneously making sure that the sugar does, in fact, dissolve completely. You should not be able to see any sugar when it is done.
- The syrup will be very thin and watery when warm, but should thicken and get sticky as it cools down.


Comments
No Comments